


What are Pond Skimmer-Ectomies™?

Replacement of Obsolete
Pond-side Pond Skimmers
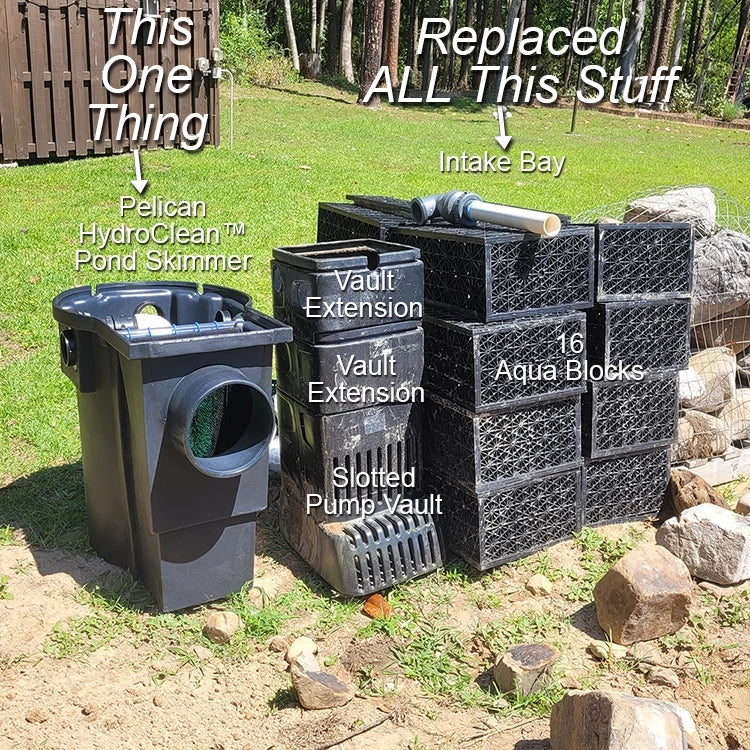
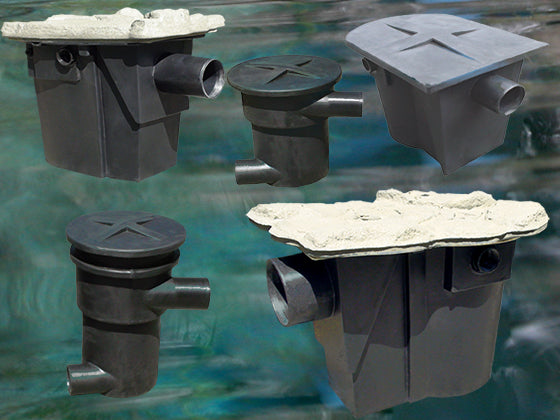
with Remotely Installed HydroClean™ Pond Skimmers
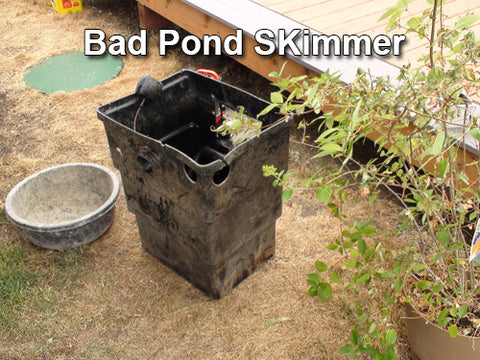
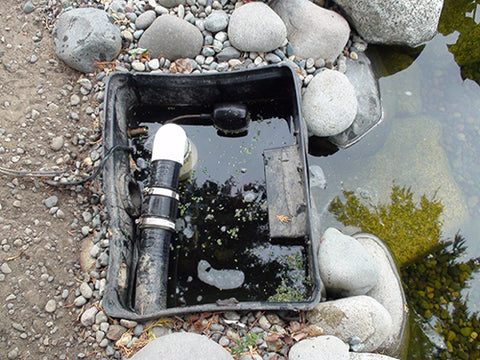
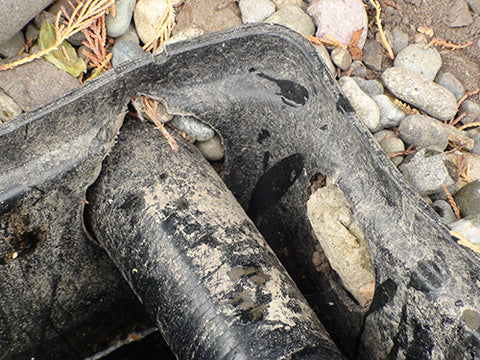
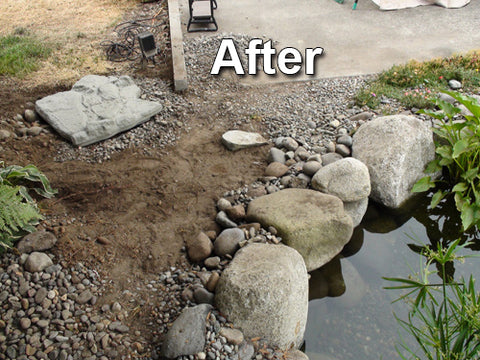
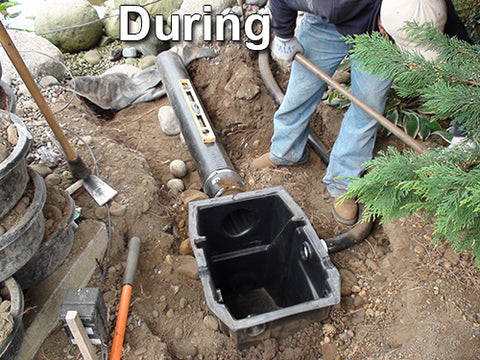
Why do a Skimmer-ectomie? Look at the photos of this Aquascape warping and failing pond skimmer and you will understand why the pond owners paid us to replace it with a remotely installed HydroClean™ pond skimmer.

Benefits:
- A 2-man crew can complete the job in 2-4 hours
- A 1-man crew can complete the job in 3-6 hours
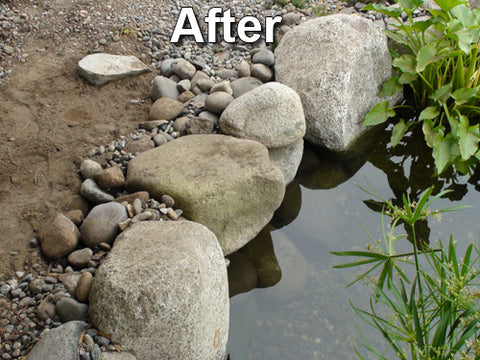
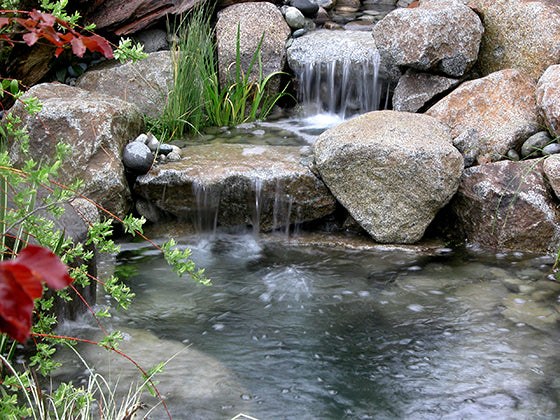
- Makes for a much more attractive pond edge
- Requires minimal tools - shovel, level, pipe cutter, screw driver, and transit or string level
- All plumbing is "soil-tight" so no dirt, mulch, gravel, or debris can fall into the skimmer through plumbing holes
- Easily accommodates multiple pumps and overflow without modification
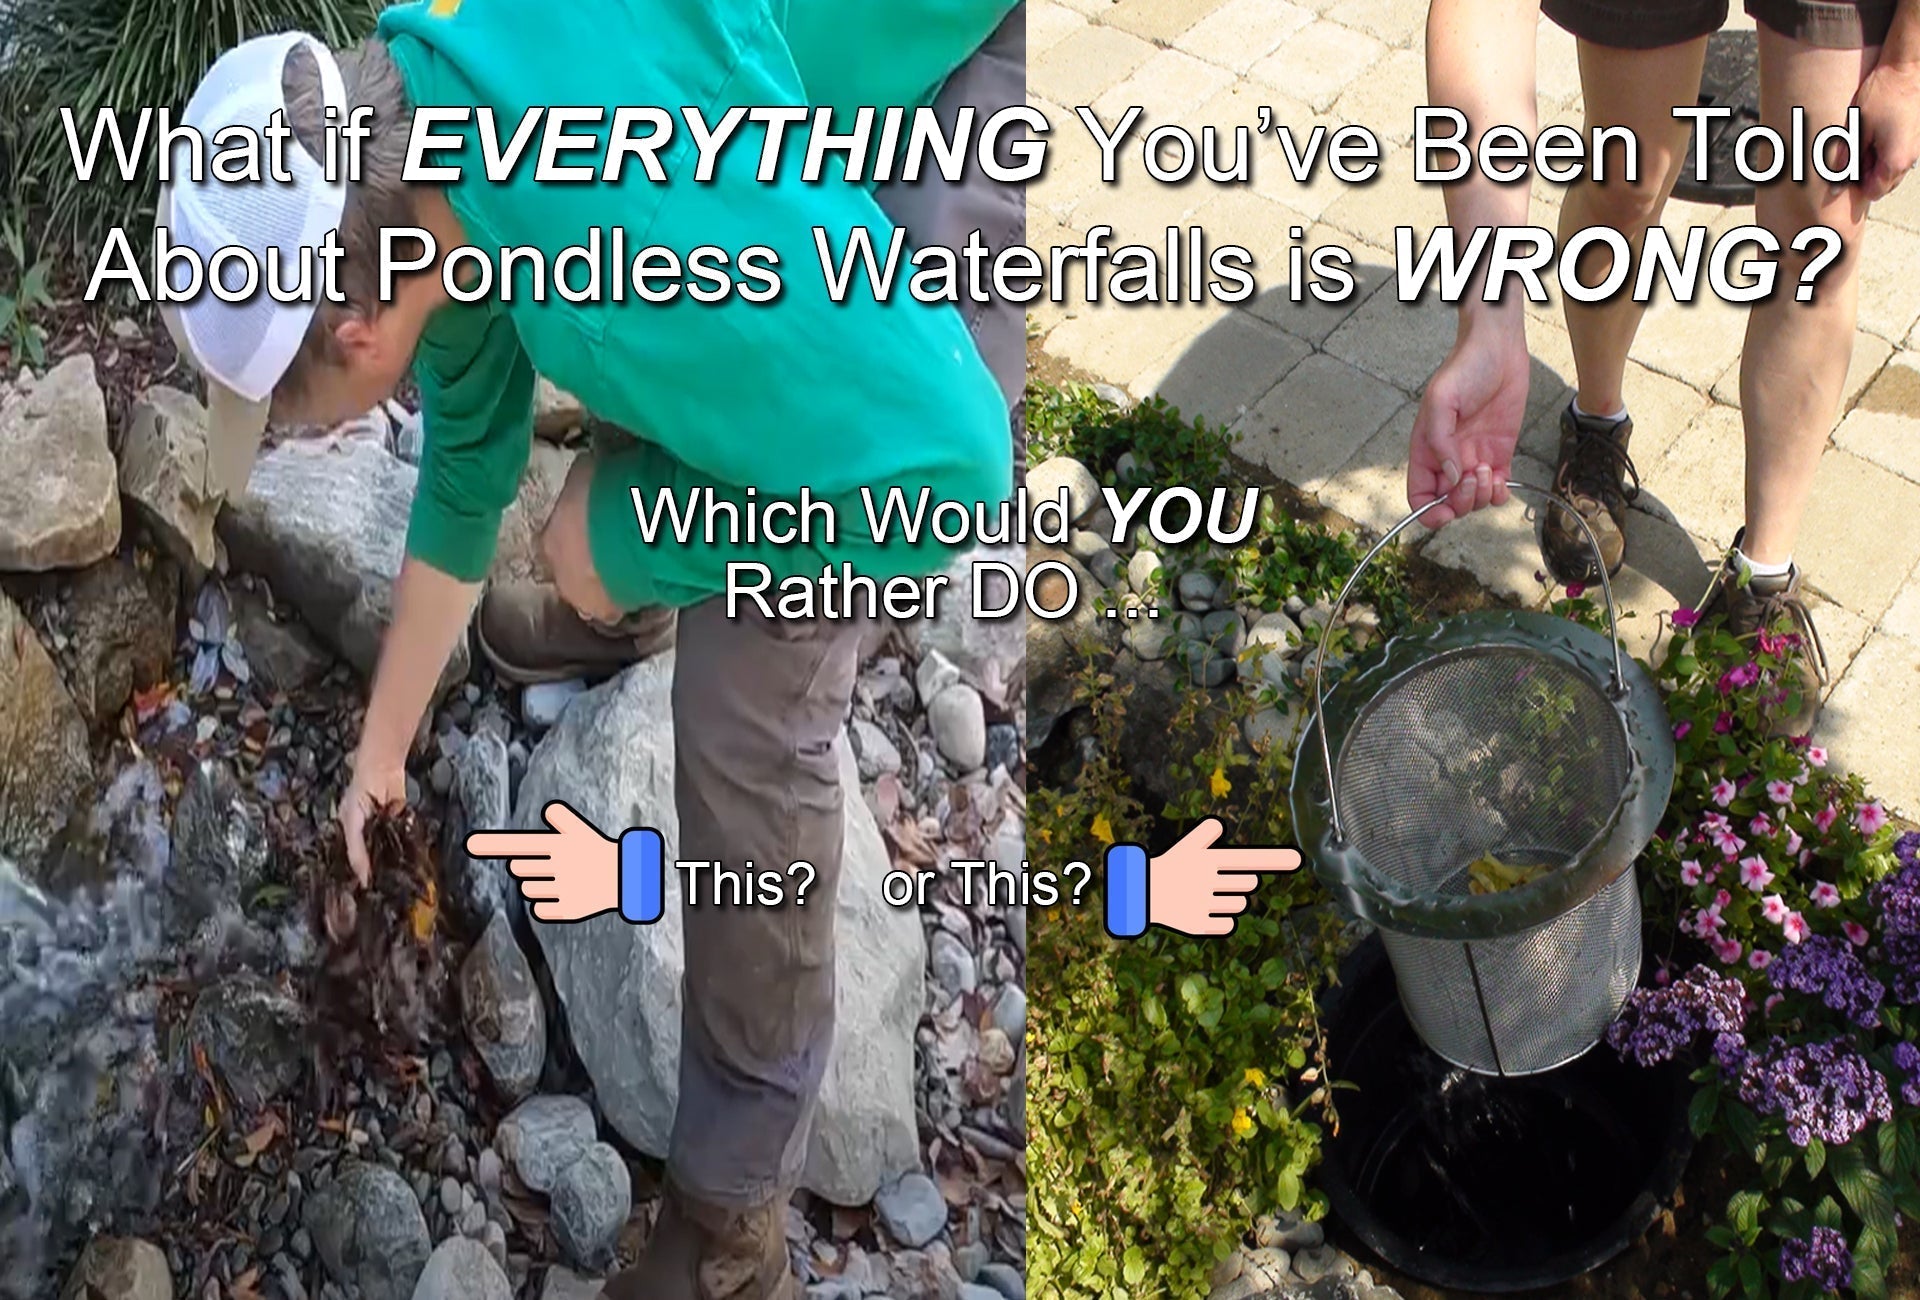
- Places the auto fill valve away from leaf net and leaf brushes so the pond owner won't bump it out of adjustment during routine servicing
- Simple to perform!

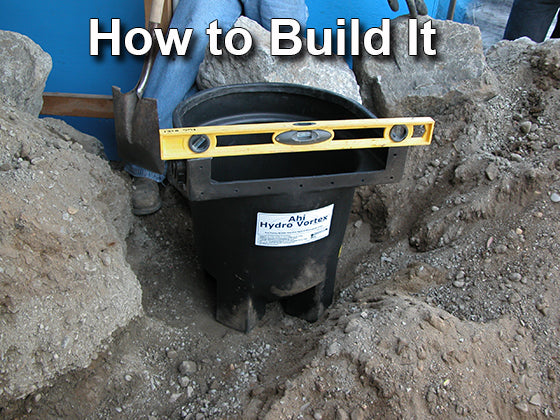
Here's How It's Done:
- Lower pond level to 6" below the existing skimmer intake flange
- Remove rocks, boulders, and gravel 12" away from skimmer
- Disconnect the liner gasket flange
- Pull liner in towards the pond and pull off any silicone from the backside of the skimmer
- Place a liner patch over the skimmer intake and screw holes
- Mark an area away from the pond in which you wish to install the HydroClean™ pond skimmer
- Excavate in new hole in the earth for the new skimmer
- Use the soil from the new hole to fill the old skimmer hole
- Excavate a trench between the HydroClean™ skimmer and the pond liner for the extension pipe

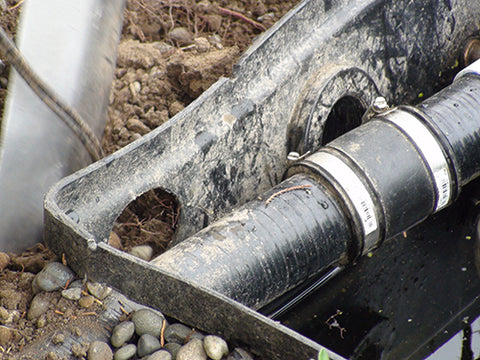
- Attach extension pipe to the HydroClean™ pond skimmer
- Level the extension pipe, and backfill with soil and compact
- Attach the patched liner to the the HydroClean™ skimmer's extension pipe
- Backfill behind the liner
- Install rocks and gravel over the extension pipe to conceal and create an uninterrupted pond edge
- Start refilling the pond
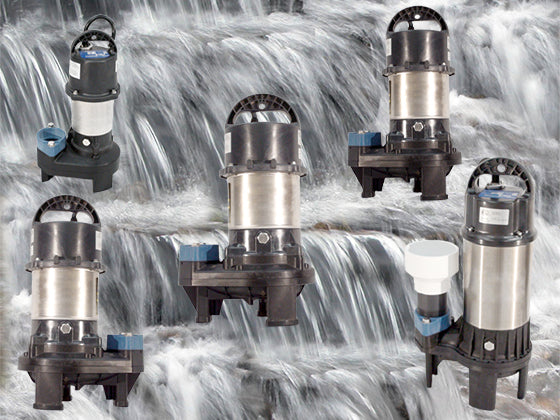
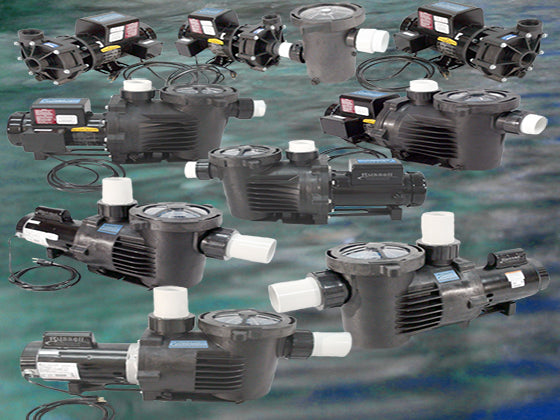
- Install the pump and overflow plumbing
- Install the optional auto fill valve
- Install the net and brushes, and place the lid on top and turn on the pump when the pond is full - you're done!