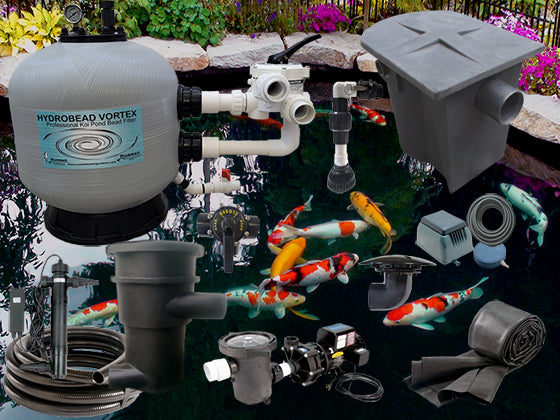


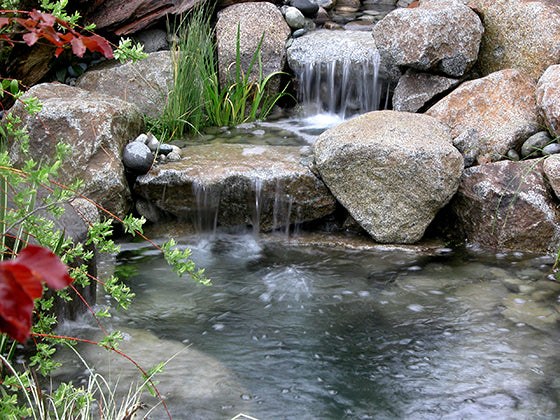


The ULTIMATE Pondless Waterfall System
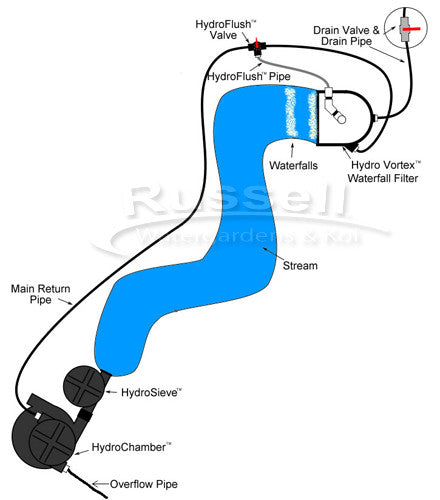
The ULTIMATE Pondless Waterfall System is the only fully filtered pondless waterfall system available. Unlike traditional systems, it combines both mechanical pre-filtration and biological filtration for cleaner, healthier water and significantly reduced maintenance.
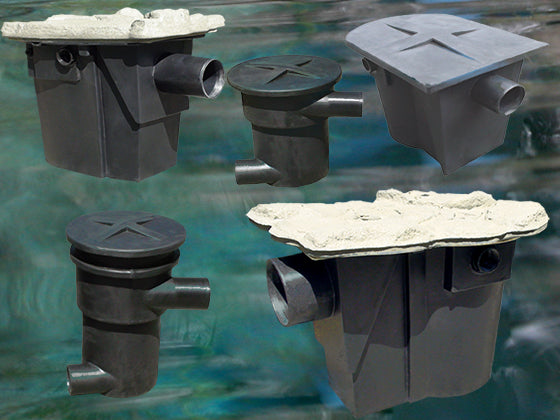
Instead of outdated rock-and-gravel reservoir basins that trap debris and are nearly impossible to clean, this system uses a self-contained water storage tank (HydroChamber™) for easy access and long-term reliability.
It’s called “pondless” because when the pump is turned off, all water is stored out of sight inside the HydroChamber™, leaving no standing water exposed.
Simple, Low-Maintenance Cleaning:
- Remove leaves and debris from the HydroSieve™ pre-filter
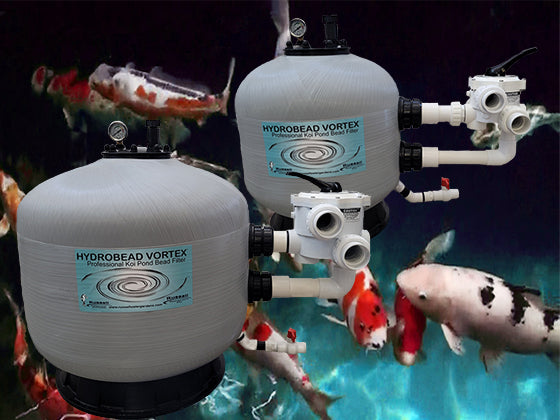
- Backwash the Hydro Vortex™ waterfall filter using:
- Manual cleaning, or
- The HydroFlush™ automatic self-cleaning system
The result is a low-maintenance, crystal-clear pondless waterfall built for performance and ease of use.
Step 1: Plan Your Pondless Waterfall Design
The first step in learning how to build a pondless waterfall is creating a simple drawing of your design. This allows you to experiment with length, curves, and layout until it matches your vision.
Need help? Give us a call, email, or a chat—we’re happy to guide you.
👉 Shop our Collection of Easy to Clean
Pondless Waterfall Kits
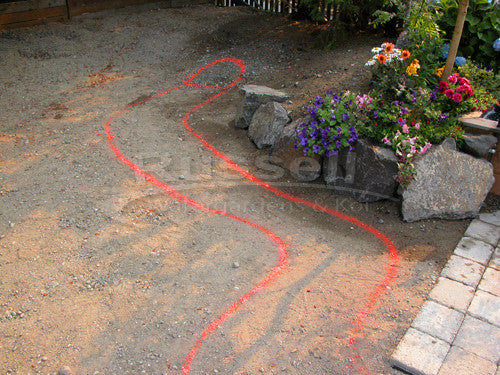
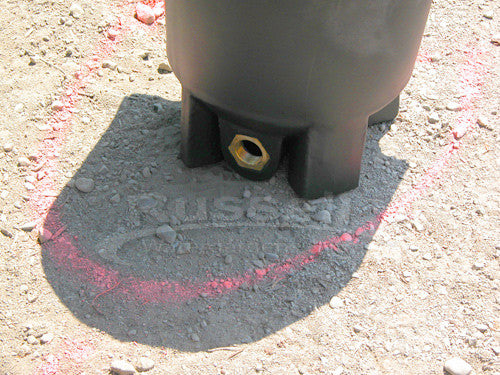
Step 2: Lay Out Your Design on the Ground
Once your design is finalized, mark it out at full scale using spray paint. Seeing your pondless waterfall layout in real size helps you visualize the final result.
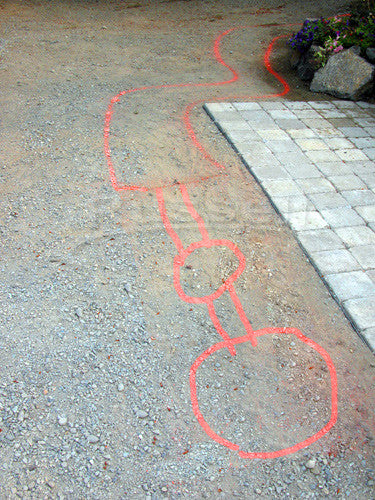
- Mark the location of the Hydro Vortex™ waterfall filter at the top
- Mark the HydroSieve™ and HydroChamber™ at the bottom
- Paint the stream path connecting the two
Measure the total length and width—this determines the correct pondless waterfall kit size. If you need a custom size, we can build one for you.
Step 3: Prepare and Install Your Pondless Waterfall Kit
With your pondless waterfall kit on site, you’re ready to begin. (In this example, we’re using an Ahi Series 20' stream kit with HydroFlush™.)
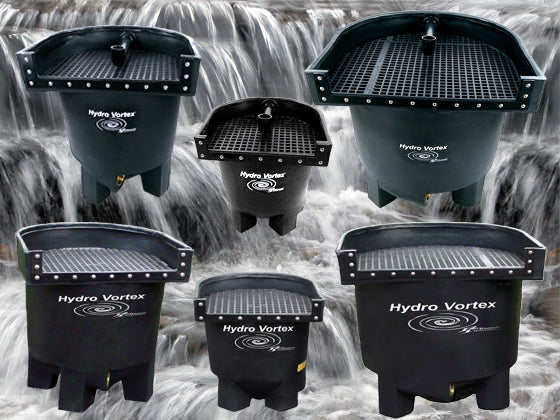
Install the Hydro Vortex™ Filter
Your Hydro Vortex™ filter includes all necessary fittings and silicone sealant.
- Apply a bead of silicone to the threads of the inlet and drain pipe adaptors
- Hand-tighten the adaptors into the filter ports
- No wrench needed—hand-tight is sufficient
- The silicone ensures a watertight seal
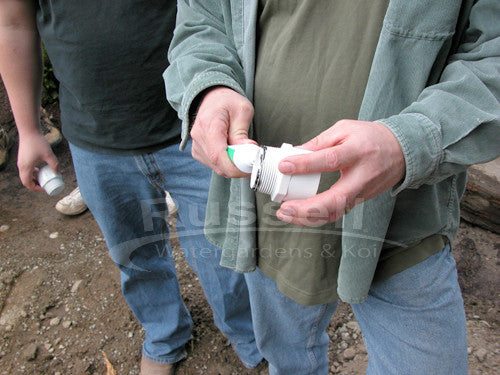
Connect Plumbing Lines
Your kit includes PVC primer and glue.

- Apply primer to:
- Inside of pipe adaptors
- Outside of flexible PVC pipe ends
- After drying, apply glue to the pipe only (not inside the fittings)
-
 Insert pipe with a slight twisting motion
 - Hold in place for at least 30 seconds
Repeat for both inlet and drain connections.
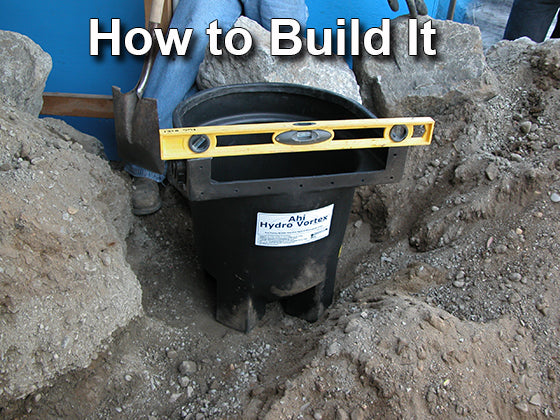
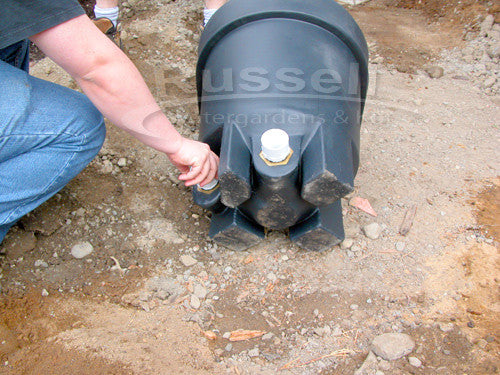
Step 4: Position the Filter and Plumbing

- Place the Hydro Vortex™ filter on a firm, level base
- Ensure the drain pipe sits below the inlet pipe
- Run the drain pipe to a safe discharge area
- Run the inlet pipe along the stream toward the HydroChamber™

Excavated soil from the HydroChamber™ can be reused to:
- Backfill around the filter
- Bury plumbing lines
- Build your waterfalls
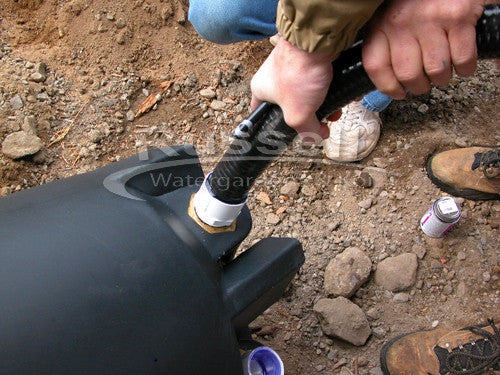
Step 5: Stabilize the Filter
Before backfilling, add weight inside the Hydro Vortex™ filter to keep it level.
- A sandbag works great
- Or… your “project supervisor” 😄
(If your supervisor doubles as ballast, even better.)
Step 6: Excavate for the HydroChamber™ and HydroSieve™


When excavating for your pondless waterfall system, separate the soil into usable areas.
- The deeper section is for the HydroChamber™ (water storage tank)
- The shallower section is for the HydroSieve™ pre-filter
 Use a wheelbarrow to move soil efficiently. This excavated soil will be reused to:
- Bury plumbing lines
- Backfill around components
- Build stream shoulders and waterfall stair steps
Step 7: Build Stream Shoulders and Waterfall Steps
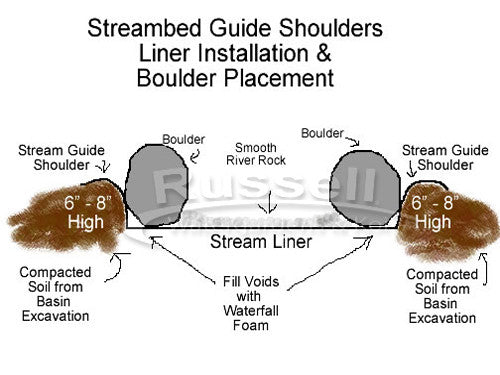
Stream shoulders are critical—they:
- Hold the liner in place
- Prevent leaks
- Stop dirty runoff from entering your stream
Waterfall stair steps create elevation and natural-looking cascades.
👉 Common mistake: Not building shoulders high enough on waterfall steps.
This causes leaks when the system is running.
Pro Tip:
Always compact soil firmly and ensure shoulders sit above the water flow level.
Step 8: Install Underlayment and Liner

Lay underlayment across the entire stream and waterfall area to protect the liner.
- Smooth out wrinkles
- Pieces can overlap (no sealing required)

Next, install the rubber liner:
- Keep it in one continuous piece
- Extend it over stream shoulders, HydroSieve™, and Hydro Vortex™ filter
- Leave several inches of slack at the base of each waterfall for increased flexibility during ground shifts and/or settling over time
⚠️Important: Do NOT cut excess liner yet.
Step 9: Attach Liner to Hydro Vortex™ Filter

- Clean the filter face with PVC primer
- Position liner over the waterfall opening and align gasket flange
- Apply a continuous bead of silicone across all screw holes
- With the liner gasket flange held in place, poke a screw through each upper corner, then install the remaining screws - only hand-tight the nuts onto the screws until all screws and nuts are installed - only then should you tighten each nut
- Cut the liner from the inside of the waterfall opening - nothing more
- Smooth excess silicone
Cut only the liner inside the filter opening—nothing more.

Attach the drain-valve to the Hydro Vortex™ filter's drain pipe.
Step 10: Install HydroChamber™ and HydroSieve™

Ensure:
- Place both units on level, compacted soil
- HydroSieve™ outlet aligns with HydroChamber™ inlet
- Bottom of HydroSieve™ inlet matches stream height
Connect using the included 4" rubber coupler with silicone and clamps.
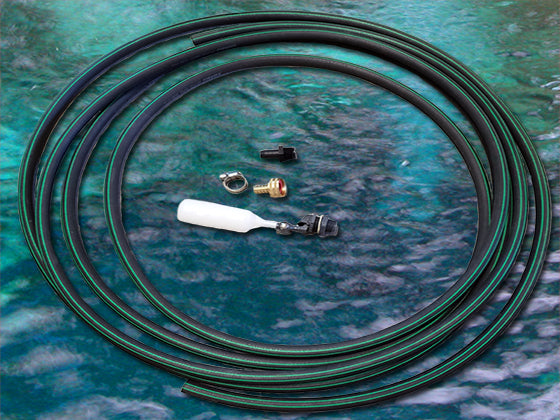
 Step 11: Install Auto-Fill Valve (Optional)
If using the Auto Fill Kit:
- Install barbed fitting into HydroChamber™ - use silicone to make a water-tight seal
- Attach ½" water line
- Connect to a water supply
- Install float valve inside chamber
This automatically maintains proper water levels in your pondless waterfall.
Step 12: Connect Plumbing and Install Pump

- Attach mainline pipe between HydroChamber™ and Hydro Vortex™
- Use primer and glue (pipe only)
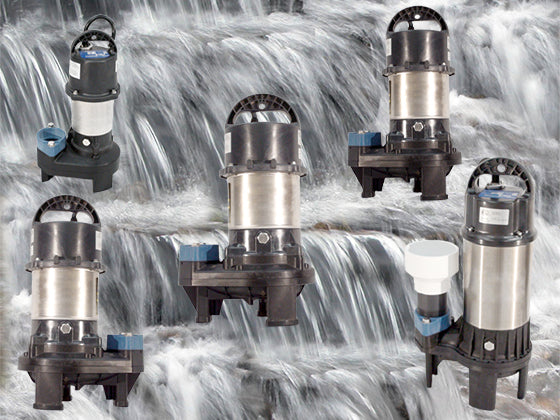
- Install pump using cam-lock fitting
⚠️Do NOT use glue or silicone on pump connections

Backfill around the HydroSieve™ pre-filter and HydroChamber™
Step 13: Attach Liner to HydroSieve™

- Prepare soil for underlayment and liner
- Lay liner over the HydroSieve™ inlet pipe
- Install collar (do not tighten yet)
- Cut a 2" hole in liner

- Hole should be ½ diameter of the pipe (4" pipe = 2" hole)
- Apply silicone around pipe behind the liner
- Stretch liner over pipe by pushing both the liner and collar over the inlet pipe and then tighten the collar
- This creates a watertight seal
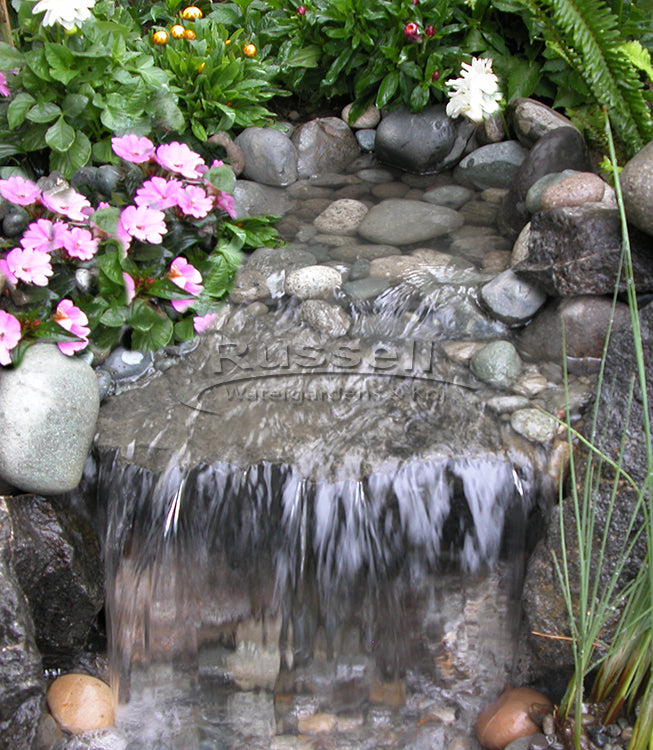
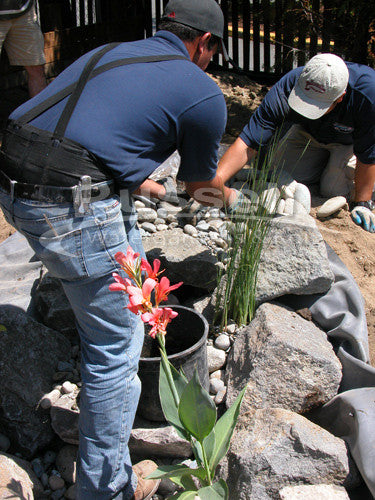
Step 14: Rock and Shape the Stream

Now it’s time to build your natural-looking pondless waterfall:
- Place rocks and boulders along stream edges
- Build waterfalls from the bottom up
- Use smaller stones as shims for level placement
👉 Dry-fit all rocks first before securing
Once satisfied:
- Apply waterfall foam under and between rocks and boulders
The waterfall foam forces water to flow over and around the boulders (not underneath)
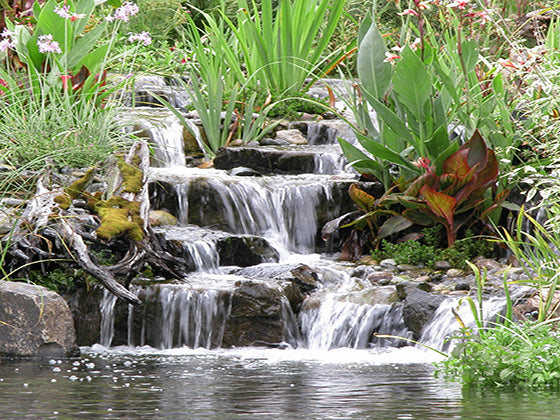
Step 15: Add Plants, Lighting, and Gravel
Enhance your pondless waterfall with:
Aquatic Plants
- Remove soil from roots
- Place directly on liner
- Cover with river rock and pea gravel
Lighting (Optional)

- Install before adding gravel
- Route wires outside stream edges
Gravel Mix (Recommended)
- Pea gravel
- 1"–2" river rock
- 4"–8" river rock
Step 16: Final Filter Setup

Complete the Hydro Vortex™ filter:
- Install lower grate
- Add Hydro FilterSilk™ media
- Install upper grate
Cover with decorative 2"- 4" river rock (cobble stones)
Step 17: Test Before Finalizing

⚠️ Critical Step
Before cutting liner:
- Fill system and turn on pump
- Inspect entire stream for:
- Leaks over shoulders
- Water escaping through wrinkles
Fix issues by:
- Adjusting liner
- Adding soil under edges
Step 18: Install HydroFlush™ Backwash System (Optional)

The HydroFlush™ system makes cleaning automatic:
- Cut into mainline pipe
- Install 3-way valve
- Connect backwash line to Hydro Vortex™
- Install valve box for access
This allows easy, hands-free filter cleaning without removing rocks.
Step 19: Final Detailing and Liner Trim

Once system is leak-free:
- Cut liner leaving ~6" around edges
- Fold under to ~3"
- Cover with decorative rock
- Landscape surrounding area
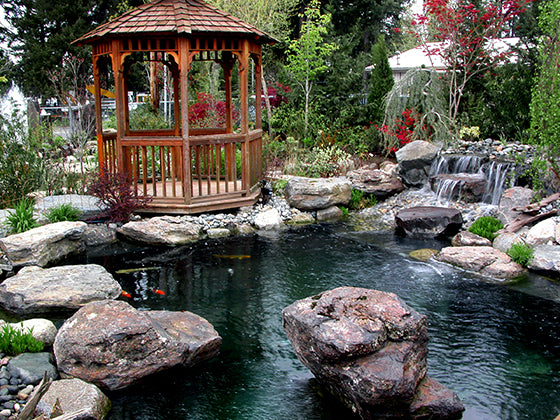
Build a Pondless Waterfall That Lasts

By following these steps, you’ve learned how to build a pondless waterfall and stream using a system designed for:
- Quick, simple routine maintenance that eliminates annual draining and pressure-washing
- Superior filtration
- Long-term reliability
- Low cost of ownership
Build a Better Pondless Waterfall
By combining advanced filtration, smart design, and easy maintenance, the ULTIMATE Pondless Waterfall System delivers a cleaner, more reliable alternative to traditional pondless waterfalls.
Whether you’re installing a DIY system or looking for a custom solution, this is the best way to build a pondless waterfall that lasts.
Aquascape vs Russell Watergardens' Fully Filtered Pondless Systems
Manufacturers, retailers, and installers of Aquascape-style rock and gravel basin pondless waterfalls all tell you the same thing: "You don't need a filter on a pondless waterfall because there are no fish".
Ok, no fish. Got it. But what about wind-blown debris such as leaves, blossoms, cottonwood seeds, bird feathers, bird poop, lawn clippings, pet hair and dander? What about dust and pollen that blow into the pondless waterfall?
With no filtration, all that debris will remain in the system, decay, and feed algae.

Does a pondless waterfall need a filter?
Here is a simple test you can easily perform yourself: Wash and wax your car. Leave it outside for a few days. What builds up on it? Leaves? Dust? Pollen? Bird poop? If your car with hard surfaces collects debris, what do you think a pondless waterfall will do? Water is a magnet for wind-blown debris.

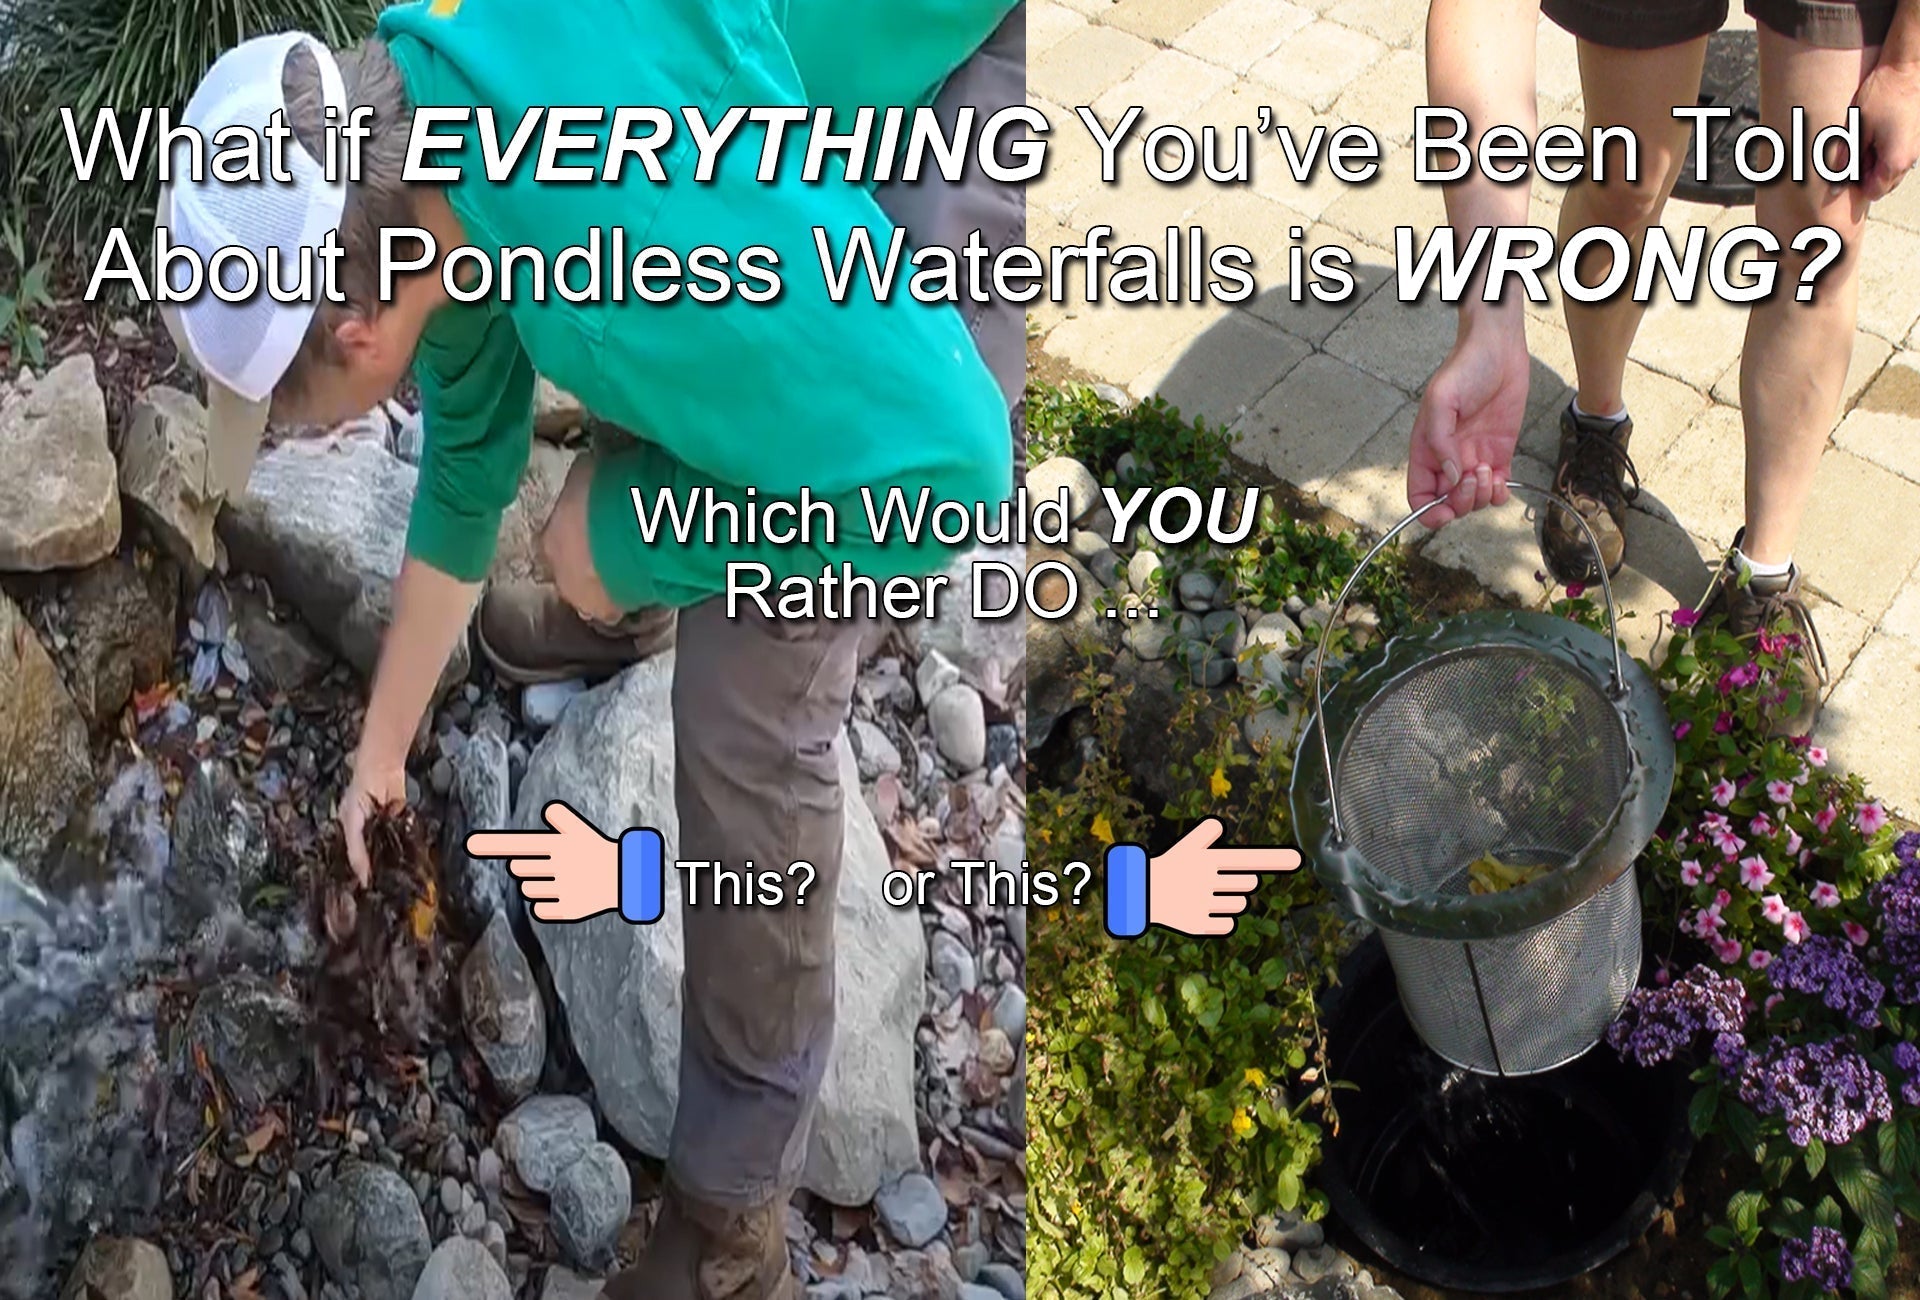
Traditional Aquascape-Style Pondless Systems (Rock & Gravel Basin):
- Trap debris in the rock and gravel basin
- Difficult or impossible to clean
- No true filtration (a spillway is not a filter)
- Grows algae
- Requires hand-picking debris
- Requires expensive annual draining and pressure washing
- Looks good only after an expensive annual cleaning
- High cost of ownership
Russell Watergardens' Ultimate Fully Filtered Pondless Systems:

- Pre-filter + biological filtration
- Easy access water storage (HydroChamber™)
- Backwash cleaning system
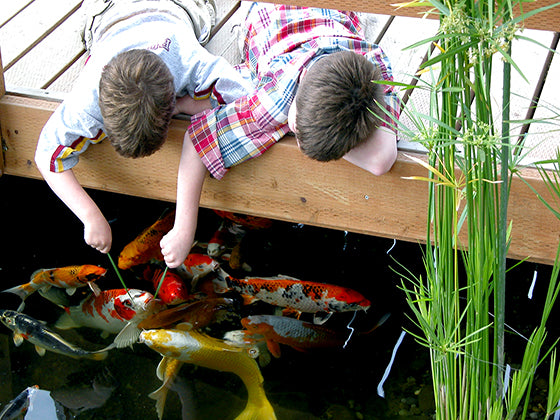
- Routine maintenance so easy that children can do it (for free!)
- Designed for long-term performance
- No annual draining or pressure washing
- Looks great all year long
- Low cost of ownership
Routine Maintenance or Annual Cleanouts?

- Routine maintenance of a Russell system takes just minutes per week. Routine maintenance is so easy that your children can do it! Routine maintenance keeps your pondless waterfall clean and fresh all year long.
- Annual cleanouts are expensive, time consuming, waste water, and creates a huge mess. Your pondless waterfall looks terrible 11½ months per year.